

Woodturning is a woodworking process where a piece of wood is rotated on a lathe while a cutting tool shapes it into a symmetrical object. This technique is used to create items like bowls, spindles, table legs, and decorative pieces. Here’s an overview of the woodturning process:
1. Selecting the Wood
Choose dry, stable wood to minimize warping or cracking.
Common woods include maple, cherry, walnut, and oak.
Green (freshly cut) wood can also be used for certain projects but may require drying afterward.
2. Preparing the Blank
Cut the wood into a rough shape (round for bowls, square for spindles).
Mount the blank securely on the lathe using:
Spur drive & live center (for spindle turning).
Faceplate or chuck (for bowl turning).
3. Setting Up the Lathe
Adjust the lathe speed based on the workpiece size (faster for small pieces, slower for large ones).
Ensure tools are sharp for clean cuts.
4. Roughing Out the Shape
Use a roughing gouge (for spindles) or bowl gouge (for bowls) to remove excess material.
Work from larger to smaller diameters for safety and control.
5. Shaping & Detailing
Use specialized tools like:
Spindle gouge (for fine details).
Skew chisel (for smooth finishes).
Parting tool (for separating sections).
Sand the piece while it spins (start with coarse grit, progress to fine).
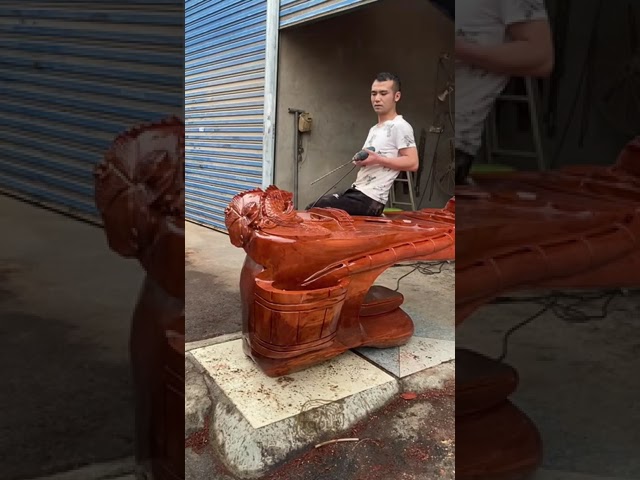
6. Sanding & Finishing
Sand from ~80 grit up to 400+ grit for a smooth surface.
Apply finishes like wax, oil, or lacquer while the piece spins for even coverage.
7. Parting Off & Final Touches
For spindle work, use a parting tool to cut the piece free.
For bowls, remount to refine the base if needed.
Buff or polish for a professional look.
Safety Tips
Wear safety goggles and avoid loose clothing.
Keep tools sharp to prevent catches.
Always check lathe speed before starting.
Woodturning combines skill and creativity, allowing for both functional and artistic creations. Would you like recommendations on tools or project ideas?
.jpg)
.jpg)


