

Creating beautiful carved doors with a router is easier than you think! With the right bits and techniques, you can add elegant patterns, panels, and textures to plain doors. Below are simple yet stunning designs perfect for beginners, along with step-by-step instructions.
1. Basic Raised Panel Door Design
(Great for cabinet doors or interior doors)
Materials & Tools Needed:
Router (handheld or table-mounted)
Router Bits:
Panel-raising bit (for the center panel)
Rabbeting bit (for the frame)
Round-over or chamfer bit (for edges)
Plywood or solid wood panel
Wood glue & clamps
Steps:
Cut the door frame (stiles and rails) to size.
Cut a groove (using a straight bit) in the frame pieces to hold the panel.
Shape the edges of the frame with a round-over or chamfer bit.
Cut the center panel slightly smaller than the frame opening.
Use a panel-raising bit to bevel the edges of the panel so it fits into the frame.
Assemble with glue & clamps.
✅ Pro Tip: Use a router table for smoother, more controlled cuts.
2. Decorative Geometric Patterns
(Simple but eye-catching for modern doors)
Materials & Tools:
Router with V-groove bit (60° or 90°)
Straightedge guide or template
Pencil & ruler (for layout)
Steps:
Mark your design (e.g., triangles, diamonds, or hexagons).
Secure a straightedge to guide the router.
Set the router depth (shallow for light engraving, deeper for bold lines).
Carve along the lines with the V-groove bit.
Sand lightly to smooth rough edges.
🎨 Design Idea: Try a hexagon honeycomb pattern for a trendy look!
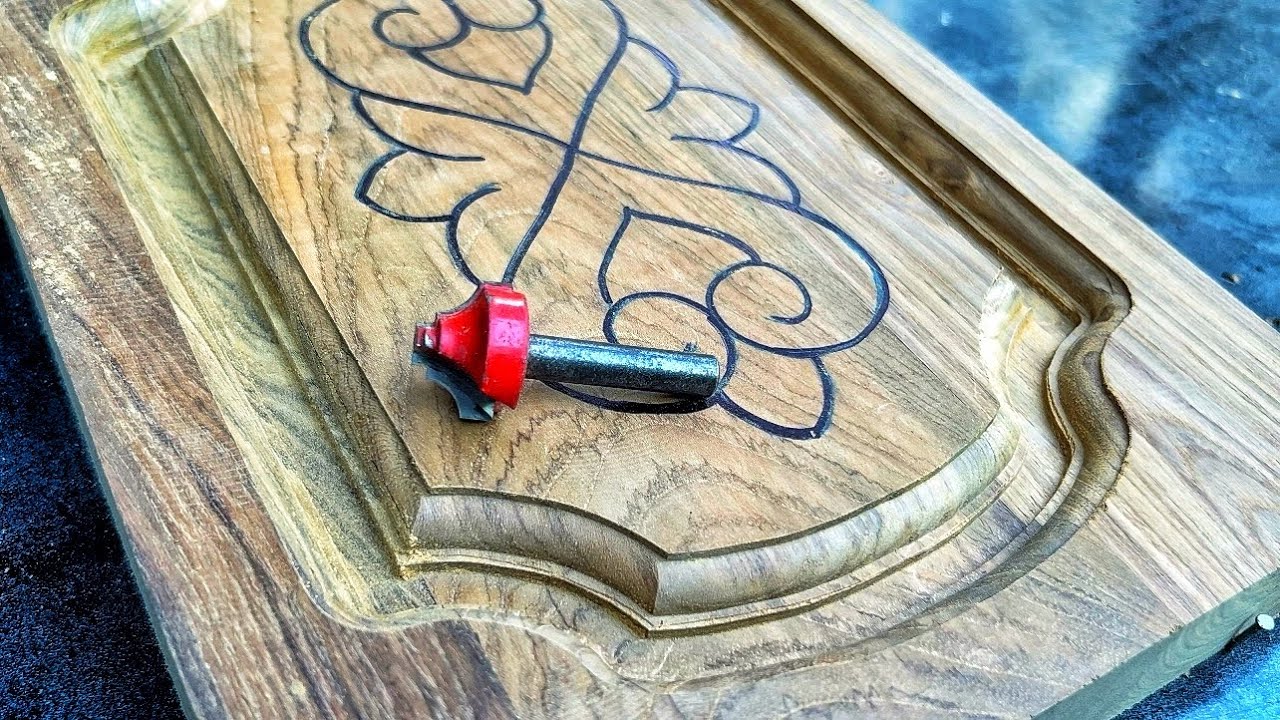
3. Floral & Vine Carving (Beginner-Friendly)
(Adds a classic, hand-carved look without freehand work)
Materials & Tools:
Router with small round-nose bit (for curves)
Palm router (for better control)
Floral/vine template (print or draw your own)
Double-sided tape (to secure the template)
Steps:
Attach the template to the door with tape.
Trace the design lightly with a pencil.
Use a small round-nose bit to follow the lines.
Vary the depth for a 3D effect (deeper in the center, lighter at the edges).
Sand & finish with stain or paint.
🌿 Pro Tip: Start with a simple leaf & vine pattern before trying complex designs.
4. Wavy Texture (Modern Rustic Look)
(Creates a unique, organic texture without precise carving)
Materials & Tools:
Router with core box bit (rounded groove bit)
Random orbital sander
Steps:
Mark wavy lines randomly across the door.
Set the router to medium depth (~1/8").
Freehand carve wavy grooves (no need for perfection!).
Sand lightly to soften sharp edges.
Apply dark stain to highlight the texture.
🌊 Effect: Looks like wood grain waves—great for barn doors!
5. Classic Frame & Panel with Beadboard
(Perfect for Shaker-style or cottage doors)
Materials & Tools:
Router with beading bit (for beadboard texture)
Tongue-and-groove panels (optional for quick assembly)
Steps:
Route beadboard lines vertically or horizontally.
Assemble a simple frame around the panel.
Add a chamfer or round-over edge for a finished look.
🏡 Best For: Pantry doors, closet doors, or farmhouse-style interiors.
Best Router Bits for Door Carving
| Design | Recommended Bits |
|---|---|
| Raised Panel | Panel-raising bit, rabbeting bit |
| Geometric | V-groove bit, straight bit |
| Floral/Vine | Small round-nose bit, detail carving bit |
| Wavy Texture | Core box bit, round-over bit |
| Beadboard | Beading bit, tongue-and-groove bit |
Safety Tips
🔹 Always secure the workpiece (use clamps or a router table).
🔹 Take shallow passes to avoid tear-out.
🔹 Wear safety goggles & hearing protection.
🔹 Practice on scrap wood before working on the door.
Final Thoughts
With a router and a few basic bits, you can transform a plain door into a custom masterpiece! Start with simple geometric patterns or raised panels, then experiment with floral carvings and textured designs as you gain confidence.
Which design do you like best? Let me know if you'd like more detailed steps for a specific style! 🔨🎨
.jpg)
.jpg)
.jpg)


