

Woodworking is a rewarding craft that combines creativity and precision. Whether you're a beginner or an experienced woodworker, these tips and tricks can help improve your skills, save time, and enhance your projects.
General Woodworking Tips
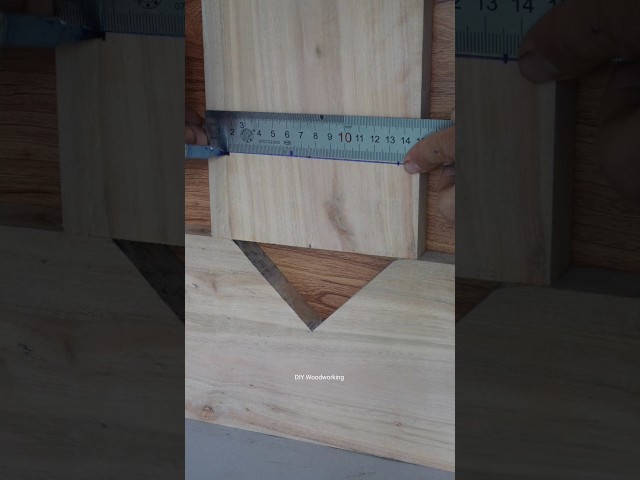
Measure Twice, Cut Once – Always double-check measurements before cutting to avoid costly mistakes.
Use Sharp Tools – Dull blades and bits cause tear-out, burn marks, and unsafe cuts. Keep chisels, saws, and drill bits sharp.
Work with the Grain – Sanding, planing, or cutting against the grain can cause splintering. Always move in the direction of the wood fibers.
Clamp Before Gluing – Use enough clamps to ensure tight, even pressure when gluing joints. Wipe off excess glue with a damp rag before it dries.
Avoid Tear-Out with Tape – When cutting plywood or veneer, apply masking tape along the cut line to reduce splintering.
Handy Workshop Tricks
DIY Bench Hook – Secure a wooden block to your workbench to hold small pieces while sawing or chiseling.
Wax for Smooth Cuts – Rub paraffin wax or a candle on saw blades and drill bits to reduce friction and prevent burning.
Magnet for Screws & Nails – Keep a magnetic tray nearby to hold small metal parts and prevent loss.
Sandpaper Grip Trick – Wrap sandpaper around a wooden block for better control and even sanding.
Use a Nail Set – Drive nails slightly below the surface with a nail set before filling holes for a clean finish.
Joinery & Assembly Tips
Pre-Drill Screw Holes – Prevent wood splitting by drilling pilot holes before driving screws.
Glue & Sawdust Filler – Mix sawdust from the same wood with wood glue to fill small gaps and imperfections.
Rubber Mallet for Tight Joints – A soft mallet helps assemble tight-fitting joints without damaging the wood.
Use Dowel Centers – For accurate dowel placement, mark hole positions with dowel centers before drilling the mating piece.
Chamfer Edges – Lightly sand or plane sharp edges to prevent splintering and improve comfort.
Finishing Techniques
Raise the Grain Before Finishing – Lightly dampen the wood before final sanding to raise fibers, then sand smooth for a better finish.
Use a Tack Cloth – Wipe surfaces with a tack cloth before applying finish to remove dust.
Thin Your First Coat – Diluting the first coat of finish (polyurethane, shellac, etc.) helps it penetrate better.
Burnish with Brown Paper – Rubbing dried finish with brown paper (like a grocery bag) can polish it to a smooth sheen.
Test Finishes on Scrap Wood – Always test stains and finishes on a spare piece to avoid surprises.
Workshop Organization & Safety
Label Your Cuts – Mark cut lines with a pencil and label pieces to avoid confusion during assembly.
Keep a Cut-Off Bin – Save scrap wood for test cuts, jigs, or small projects.
Use Push Sticks & Featherboards – Safety first! Always use push sticks when working close to blades.
Dust Management – Wear a mask and use a shop vacuum or dust collector to keep your workspace clean.
Store Sandpaper in a Binder – Use a three-ring binder with plastic sleeves to organize sandpaper by grit.
Bonus Pro Tips
Wet Wood Bends Easier – Steam or soak thin wood strips to make them flexible for bending.
Freehand Routing Trick – Use a straight board as a guide for cleaner, straighter router cuts.
Hot Glue Temporary Clamps – Use hot glue to hold small pieces in place while the main glue dries.
Would you like specific advice on a particular technique or project? Happy woodworking! 🔨✨
.jpg)
.jpg)
.jpg)


