

Creating a reliable loop in a steel cable quickly and securely requires the right technique to ensure strength and safety. Here’s a step-by-step method using wire rope clips (cable clamps)—a common and dependable solution:
Materials Needed:
Steel cable (wire rope)
Wire rope clips (U-bolt or fist grip type)
Wrenches (for tightening)
Cable cutter or hacksaw (if trimming)
Tape or heat shrink (optional, to prevent fraying)
Steps to Make a Secure Loop:
1. Measure & Form the Loop
Determine the loop size and add extra length (at least 3x the cable diameter for the overlap).
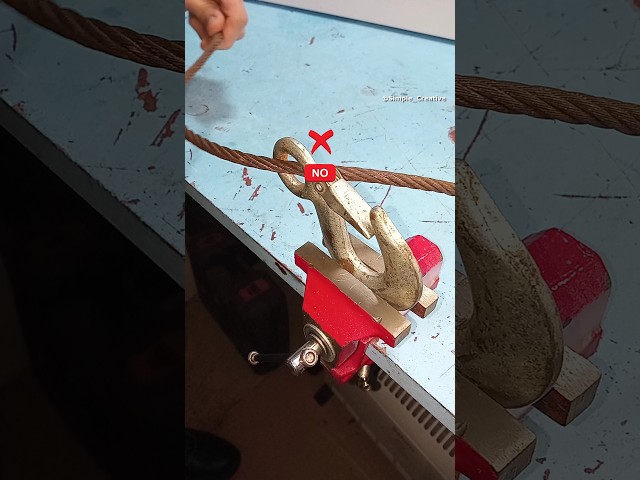
Bend the cable into a loop, ensuring the "live" (load-bearing) side runs straight, while the "dead" (tail) end overlaps it.
2. Apply Wire Rope Clips
Place the first clip near the base of the loop:
U-bolt goes over the dead end (tail), saddle on the live side.
Tighten nuts firmly but don’t crush the cable.
Add 2-3 more clips spaced 6-8x the cable diameter apart (e.g., for 1/4" cable, space clips ~1.5–2" apart).
Pro Tip: Alternate the direction of the clips for added security.
3. Secure the Tail
Leave 1.5–2x the cable diameter of tail protruding past the last clip.
Wrap the tail with tape or use a cable ferrule to prevent fraying.
4. Final Check
Ensure all nuts are torqued evenly.
Test the loop under light load before full use.
Alternatives (No Clips):
Swaging Sleeves: Crimp with a hydraulic press for a permanent loop (stronger but requires tools).
Braiding/Back-Splice: For smaller cables, but less reliable under heavy loads.
Safety Notes:
✔ Never use only 1 clip—always use minimum 2–3.
✔ Avoid "hog rings" (single-wrap clamps)—they’re weaker.
✔ Inspect for cable fraying or clip loosening over time.
This method is widely used in rigging, towing, and construction. For critical loads, consult a professional or use pre-made slings.
Would you like tips for a specific cable thickness or application?


