

Attaching a pipe with a tap (faucet) securely to the wall requires proper support to prevent leaks, wobbling, or pipe damage. Here’s a step-by-step guide to ensure a sturdy installation:
Tools & Materials Needed:
Pipe brackets/clips (appropriate for pipe size)
Wall plugs & screws (suitable for your wall type)
Drill & masonry/concrete bit (if mounting on brick/concrete)
Screwdriver or impact driver
Spirit level (to ensure alignment)
Pipe insulation (optional, to prevent condensation)
Adjustable wrench or spanner
Pipe tape (PTFE/Teflon tape, if needed for threaded joints)
Steps to Securely Attach the Pipe with Tap to the Wall:
1. Plan the Pipe Route & Bracket Placement
Determine the best path for the pipe to avoid obstructions.
Ensure the tap is at a convenient height (typically 30–40 cm above a sink).
Mark bracket positions every 50–100 cm (closer if the pipe is heavy or long).
2. Choose the Right Brackets/Clips
Use pipe clips or saddle clips that match the pipe diameter (e.g., 15mm or 22mm for standard plumbing).
For heavier pipes/taps, use heavy-duty brackets or wall-mounted pipe straps.
3. Drill Holes & Secure Brackets
For Masonry/Brick Walls:
Drill holes with a masonry bit, insert wall plugs, then screw in the brackets.
For Drywall/Plasterboard:
Use toggle bolts or plasterboard anchors for better grip.
For Wooden Studs:
Screw directly into the studs for maximum strength.
4. Install the Pipe & Tap
Slide the pipe into the brackets and tighten the clips.
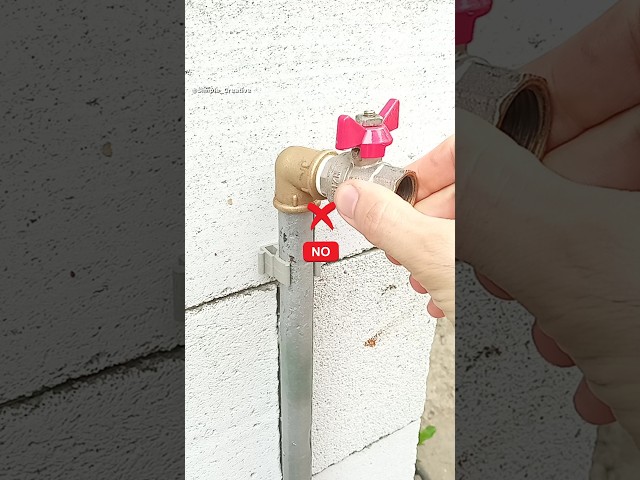
If using a wall-mounted tap, ensure the fixing bolts are tight.
For threaded connections, wrap PTFE tape around the threads to prevent leaks.
5. Check for Stability & Leaks
Gently shake the pipe to ensure it doesn’t move excessively.
Turn on the water and check for leaks at joints.
If the pipe vibrates (e.g., in a washing machine line), add extra brackets or foam padding.
6. Optional: Insulate Pipes (If Needed)
Use foam pipe insulation to prevent condensation or freezing.
Pro Tips:
✔ Use a Spirit Level – Ensures pipes and taps are straight.
✔ Double-Bracket Near the Tap – Extra support prevents strain on connections.
✔ Avoid Over-Tightening – Can crack fittings or strip threads.
✔ For Long Pipes – Add a slight downward slope (if drainage is involved).
By following these steps, your pipe and tap will stay securely fixed to the wall without leaks or movement. Let me know if you need help with a specific type of pipe or wall material! 🚰🔧
.jpg)
.jpg)
.jpg)


