

Creating a perfect miter joint in woodworking requires precision in cutting, fitting, and assembly. A miter joint is formed by joining two pieces of wood at an angle (typically 45° for a 90° corner). Here’s a step-by-step guide to achieving a flawless miter joint:
1. Tools & Materials Needed
Miter saw (or hand saw with a miter box)
Sharp, fine-toothed blade (for clean cuts)
Measuring tape & marking tools (pencil, marking knife)
Clamps (corner clamps or band clamps)
Wood glue (water-resistant for durability)
Sandpaper (120-220 grit)
Square (to check for accuracy)
Biscuit joiner or splines (optional for reinforcement)
2. Steps to a Perfect Miter Joint
Step 1: Measure & Mark Accurately
Determine the exact length needed for each piece.
Mark the cutting angle (usually 45° for a standard frame).
Use a marking knife for precision (prevents tear-out).
Step 2: Cut the Miter Accurately
Use a high-quality miter saw (or a well-tuned table saw with a miter gauge).
Ensure the saw blade is sharp and clean (dull blades cause tear-out).
Make test cuts on scrap wood to confirm the angle is correct.
For hand tools, use a miter box for stability.
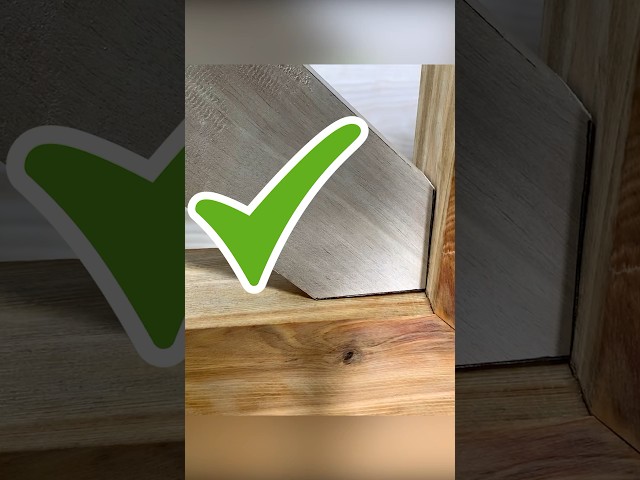
Step 3: Check the Fit
Dry-fit the pieces to ensure a tight, gap-free joint.
If gaps exist:
Recut (adjust the angle slightly if needed).
Sand the edges lightly for a better fit.
Step 4: Reinforce the Joint (Optional)
Biscuits/splines: Add small biscuits or splines for extra strength.
Dowel pins: Drill and insert dowels for alignment.
V-nails/keys: Used in picture frames for hidden reinforcement.
Step 5: Glue & Clamp Properly
Apply wood glue evenly on both mating surfaces.
Use corner clamps or a band clamp to hold the joint tightly.
Wipe off excess glue immediately with a damp cloth.
Allow the glue to dry fully (follow manufacturer’s time recommendation).
Step 6: Final Adjustments & Finishing
Sand the joint smoothly (start with 120 grit, finish with 220).
Fill any tiny gaps with wood filler (color-matched).
Apply stain, paint, or finish as desired.
3. Common Mistakes & Fixes
Gaps in the joint? → Recut or adjust the angle slightly.
Weak joint? → Reinforce with splines or dowels.
Tear-out? → Use masking tape on the cut line or a zero-clearance saw insert.
Misaligned corners? → Check for squareness with a framing square.
4. Pro Tips for Success
✔ Use a stop block for consistent cuts on multiple pieces.
✔ Shoot the edges with a hand plane for ultra-precise fits.
✔ Test on scrap wood before cutting expensive material.
✔ For picture frames, cut slightly longer and trim for final fit.


