

Woodturning Wet Weeping Willow: A Fluid, Organic Masterpiece
Turning wet (green) wood offers unique challenges and rewards, especially when crafting a piece inspired by the Weeping Willow—a tree that thrives near water and embodies fluidity. The natural warping and movement of green wood can enhance the organic, weeping aesthetic.
Step-by-Step Process
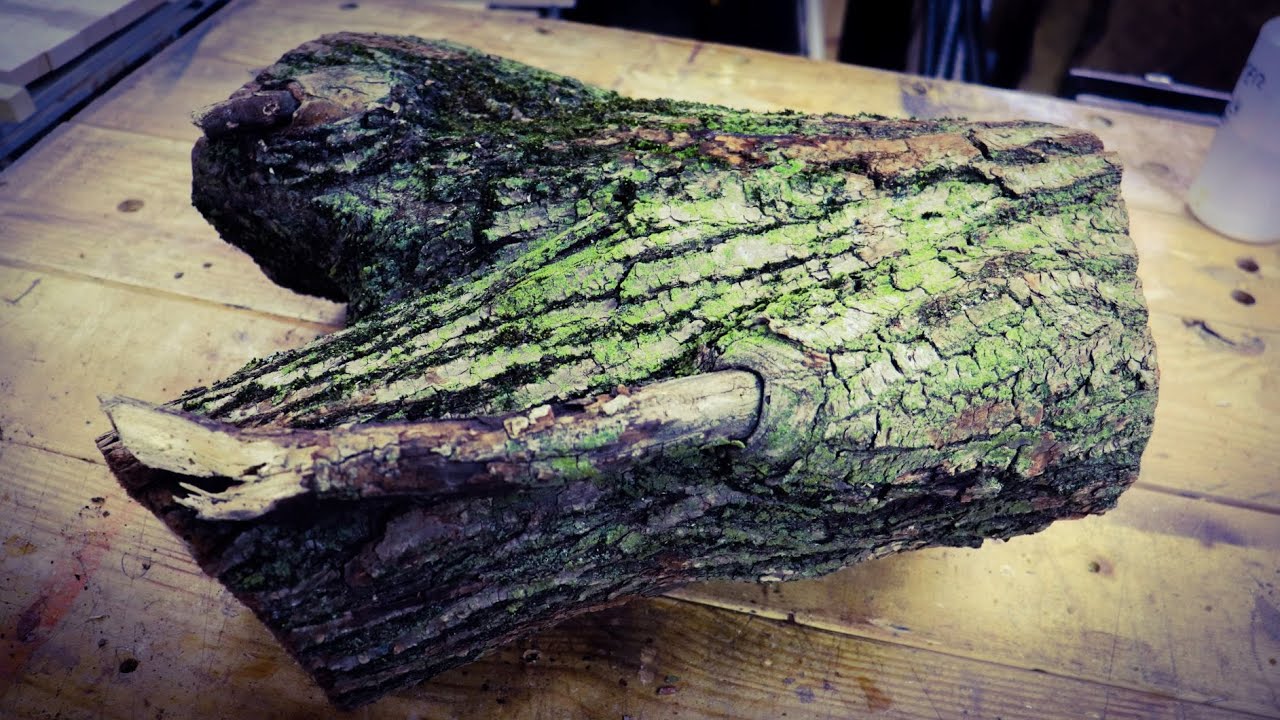
1. Selecting the Wood
Best Species: Willow itself (if available), green maple, cherry, or birch (for their flexibility and grain patterns).
Log Preparation: Cut a fresh (unseasoned) log slightly larger than your intended final dimensions (allowing for warping).
Bark Consideration: If keeping natural edges, seal the bark with PVA glue to prevent cracking.
2. Rough Turning While Wet
Mount the blank securely on the lathe (faceplate or screw chuck for bowls/vases).
Use a heavy gouge to shape the outer curve, mimicking the willow’s drooping branches—long, sweeping cuts for fluidity.
Hollow the interior, leaving walls 2-3x thicker than the final desired thickness (to account for drying distortion).
Texturing (Optional): Use a rotary tool or small gouge to carve delicate "branch" lines along the surface.
3. Drying & Warping Intentionally
Air-Dry Slowly: Place the rough-turned piece in a paper bag with shavings for controlled drying (reduces cracking).
Encourage Movement: The wood will warp naturally—this enhances the "weeping" effect.
Alternative: For faster drying, use a microwave or alcohol soak (but expect more dramatic distortion).
4. Final Turning & Refinement
Once dry (~6-12 months, or accelerated), remount the warped piece carefully (may need jam chucks or custom holding).
Refine the Shape: Follow the new organic curves—do not fight the warp; let it guide the final form.
Thin the Walls: Reduce to final thickness (3-6mm for delicate pieces).
Surface Details:
Pyrography: Burn fine lines resembling willow branches.
Carving: Add subtle texture with a Dremel or small chisels.
Resin "Droplets" (Optional): Fill small voids with clear epoxy for a "wet" look.
5. Finishing
Oil Finish (Best for Grain Pop): Tung oil or walnut oil for a natural, matte look.
Wax for Soft Sheen: Carnauba wax buffed lightly.
Preserve Warped Texture: Avoid heavy sanding—keep some tool marks for organic authenticity.
Design Ideas for Wet Weeping Willow Pieces
"Cascading Willow Vase" – A warped, asymmetrical vase with carved drip-like grooves.
"Tears of the Willow Bowl" – A distorted platter with resin-filled cracks resembling water.
"Dancing Sapling Hollow Form" – A tall, twisted vessel with bark inclusions.
.jpg)
.jpg)
.jpg)


