

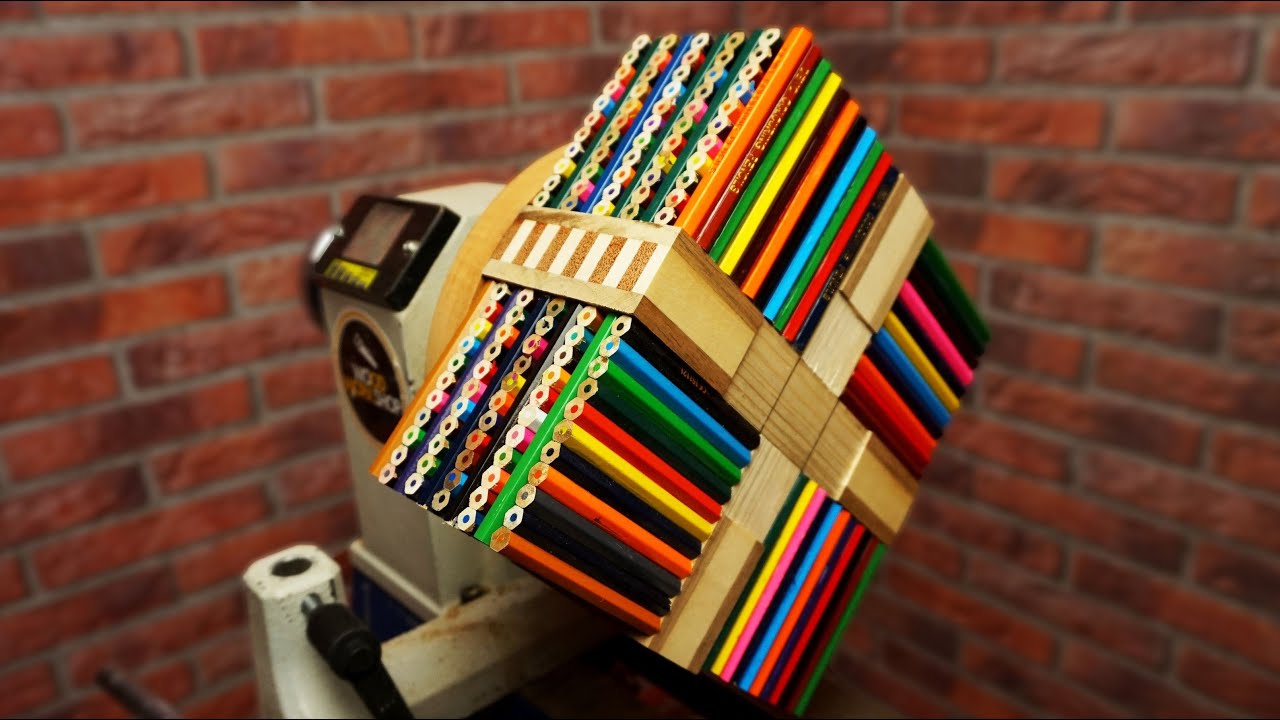
If you're interested in woodturning a stack of pencils, this is a fun and creative project that mimics a bundle of colored pencils but is actually made from a single piece of wood. Here’s how you can do it:
Materials & Tools Needed:
Wood blank (at least 3" x 3" x 6") – Basswood, maple, or another easy-to-turn wood
Lathe with a chuck or faceplate
Turning tools (spindle gouge, skew chisel, parting tool)
Drill & drill bits (for pencil "lead")
Acrylic paint or wood dyes (for colored pencil effect)
CA glue or wood glue (for securing parts)
Sandpaper (120-600 grit)
Finish (food-safe oil, wax, or lacquer)
Step-by-Step Process:
1. Mount the Blank
Secure your wood blank between centers or on a faceplate.
Rough it down to a cylinder using a spindle roughing gouge.
2. Shape the "Pencils"
Decide how many "pencils" you want (e.g., 6 or 7 in a hexagonal bundle).
Use a parting tool to create deep grooves along the length, separating the "pencils."
Round the edges slightly to mimic real pencil shapes.
3. Add Pencil Details
For the tips: Taper the ends to sharp points (or leave them flat for a "unsharpened" look).
For the "lead":
Drill small holes in the tip of each "pencil."
Insert a dowel or black-painted rod to mimic graphite.
Secure with CA glue.
For the erasers:
Cut small grooves at the top of each pencil.
Glue in pink-dyed wood or a piece of eraser material.
4. Painting & Coloring
Use acrylic paint or wood stain to color each "pencil" differently (red, yellow, blue, etc.).
Let dry completely before sanding lightly.
5. Sanding & Finishing
Sand from 120 up to 600 grit for a smooth finish.
Apply a food-safe finish (if it’s a functional piece) or lacquer for display.
Tips for Success:
✔ Go slow when parting—deep cuts can weaken the structure.
✔ Use a steady hand when painting—masking tape helps keep lines clean.
✔ Experiment with shapes—try hexagonal or square "pencils" for variety.
Would you like variations, like a wooden pencil cup or a miniature version? Let me know how I can refine the instructions! ✏️🔄
.jpg)
.jpg)


