

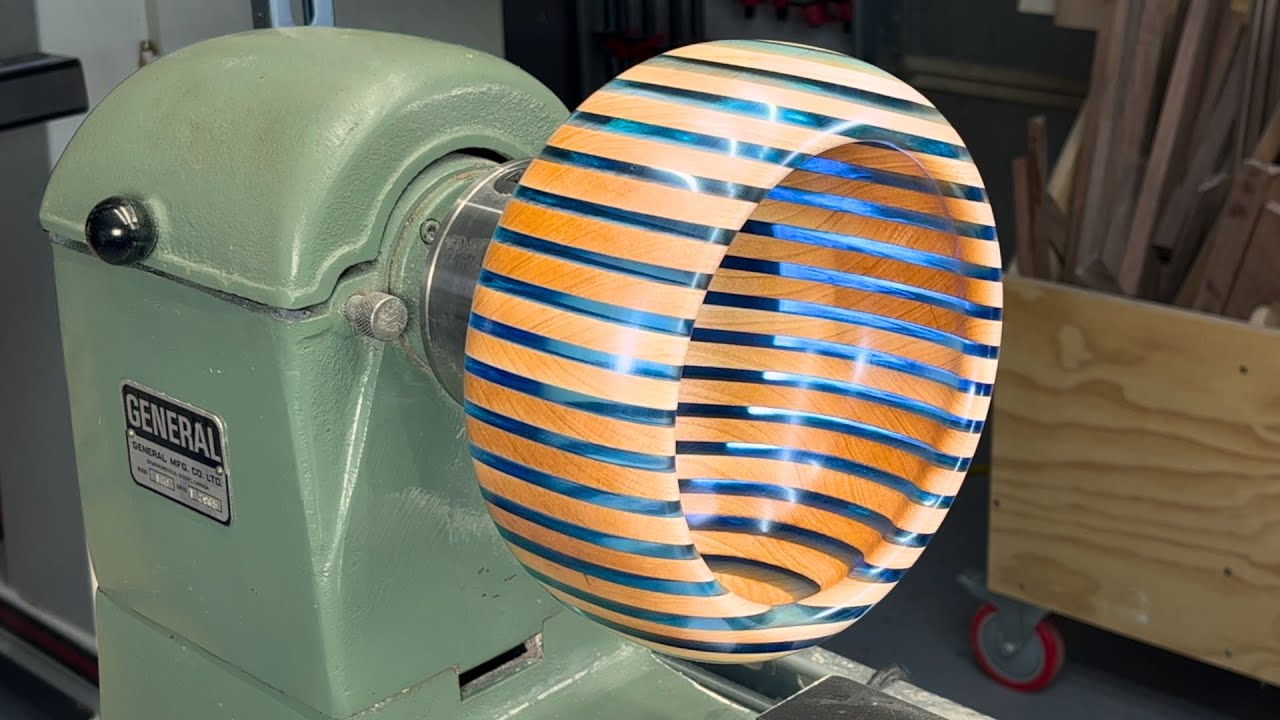
A woodturned maple resin bowl combines the natural beauty of wood with the mesmerizing depth of epoxy resin, creating a stunning functional art piece. Here’s how a skilled woodturner crafts one, along with tips for achieving a flawless result:
1. Selecting the Materials
Maple Wood: Known for its fine, pale grain (great for contrast with resin).
Epoxy Resin: Use a high-quality, bubble-free casting resin (e.g., Alumilite, ArtResin).
Dyes/Pigments: Mica powders, alcohol inks, or transparent dyes for vibrant resin effects.
2. Preparing the Wood & Resin Blank
Stabilize the Wood: Dry thoroughly or stabilize with resin under vacuum (if needed).
Create a Mold: Seal edges with silicone or tape to prevent leaks.
Pour Layers:
Alternate resin and wood layers for a "river" effect.
Embed decorative elements (dried flowers, metallic flakes, etc.).
Cure Fully: Let resin harden for 24–48 hours before turning.
3. Turning the Bowl on the Lathe
Mount the Blank: Secure with a faceplate or chuck.
Rough Shape: Use a bowl gouge to carve the exterior profile.
Hollow the Interior: A carbide scraper or shear-scraping technique works best.
Sand Progressively: Start with 120-grit, move up to 600+ for a glass-like finish.
4. Finishing Touches
Polish Resin: Buff with plastic polish (e.g., Novus) for maximum clarity.
Seal the Wood: Food-safe oil (walnut, mineral oil) or a CA glue finish.
Wax for Protection: Carnauba wax adds a soft sheen.
Pro Tips for Success
✔ Avoid Bubbles: Pressure pot or heat gun helps eliminate resin bubbles.
✔ Sharp Tools: Resin dulls tools quickly—keep gouges razor-sharp.
✔ Safety First: Wear a respirator (resin dust is toxic) and face shield.
Why Maple & Resin?
The light wood contrasts beautifully with colored resin.
Resin stabilizes cracks or voids in the wood.
Endless creative possibilities (glow-in-the-dark, metallic swirls, etc.).
Would you like a step-by-step video recommendation or advice on specific resin colors that pair well with maple?
.jpg)
.jpg)
.jpg)


