

Woodturning The Hollow Burl – Embracing Nature’s Chaos
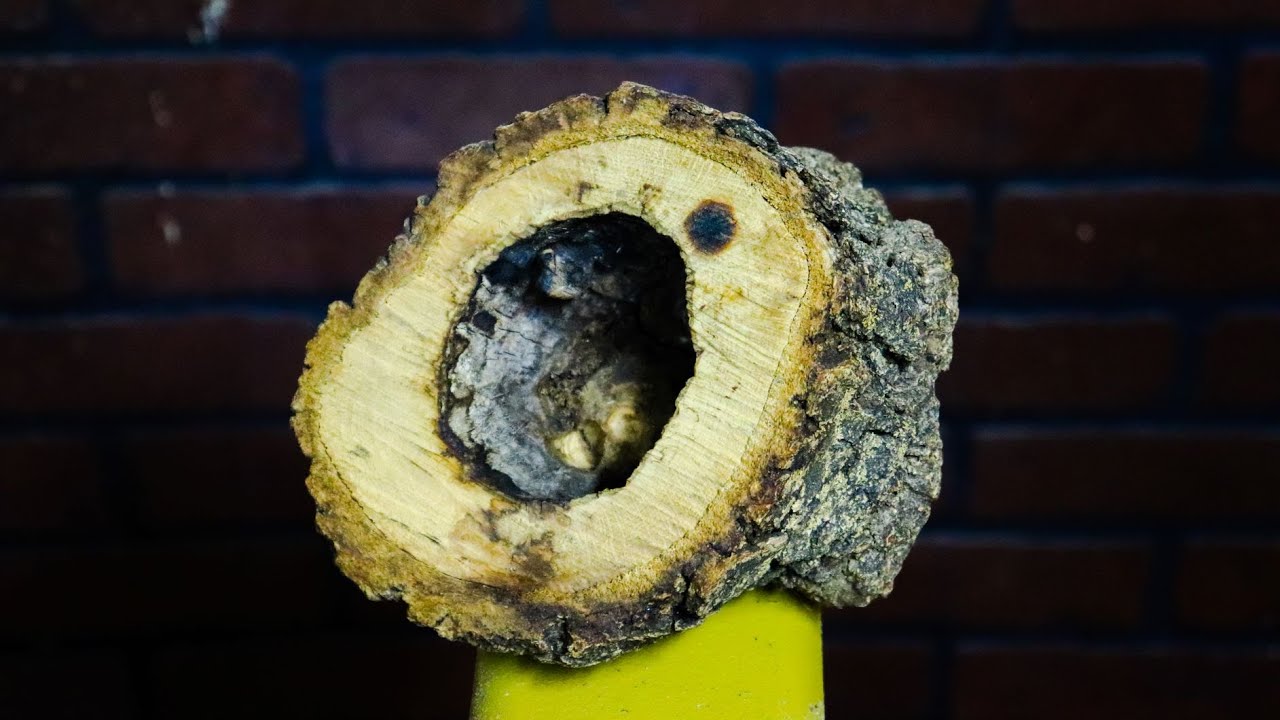
Burl wood is one of the most prized and unpredictable materials for woodturners. Its wild grain, swirling eyes, and hidden voids make each piece a unique challenge—especially when hollowing. A hollow burl form can become a stunning organic sculpture, vessel, or lamp base, showcasing the wood’s natural drama.
Step-by-Step Process
1. Selecting the Burl
Ideal Species: Maple, black walnut, redwood, or oak burls (known for intense figuring).
Check for Defects: Look for cracks, rot, or bark inclusions—these can add character or cause failure.
Stabilization Needed? If the burl is punky, consider stabilizing with thin CA glue or resin before turning.
2. Mounting the Burl
Secure with a Faceplate: Burls often lack a consistent center, so screw into solid wood (avoid cracks).
Use a Heavy Grip: Burls can be unbalanced; slow speeds (300-600 RPM) reduce vibration.
Alternative: Embed in a waste block for safer turning if the burl is irregular.
3. Rough Shaping the Exterior
Start with a Bowl Gouge or Carbide Tool: Remove bark and establish a general form.
Follow the Natural Shape: Let the burl’s irregularities guide the design—organic asymmetry is key.
Leave Extra Thickness: Burls can have hidden weak spots; keep walls thicker than usual (15-20mm).
4. Hollowing the Burl
Tools for Hollowing:
Small Hollowing Rig (for deep reaches).
Curved Carbide Tools (for navigating voids).
Flexible Shaft Tools (if working around internal defects).
Expect the Unexpected:
Voids may appear—incorporate them rather than fight them.
If the piece becomes too fragile, fill voids with epoxy (clear or tinted).
Wall Thickness: Aim for 5-10mm final thickness (depends on stability).
5. Refining the Form
Shear Scraping: Smooth tear-out-prone areas with a light touch.
Texturing (Optional):
Wire brushing enhances grain contrast.
Carved grooves mimic natural fissures.
Natural Edge Preservation: If keeping bark, stabilize it with CA glue or resin.
6. Drying & Final Adjustments
Dry Slowly: Burls crack easily—seal with anchorseal or DNA soak for controlled drying.
Re-turn if Needed: After drying, remount and fine-tune shape/surface.
7. Finishing
Oil for Depth: Tung oil or Danish oil to pop the grain.
Resin Highlights: Fill cracks with colored epoxy for contrast.
Wax or Lacquer: For a protective sheen.
Design Ideas for Hollow Burls
"Burl Vortex Vessel" – A swirling, asymmetrical hollow form with a natural edge.
"Luminous Burl Lamp" – Hollowed with LED lighting to highlight grain and voids.
"Floating Burl Bowl" – A thin-walled, irregular-shaped bowl with live edges.
.jpg)
.jpg)
.jpg)


