

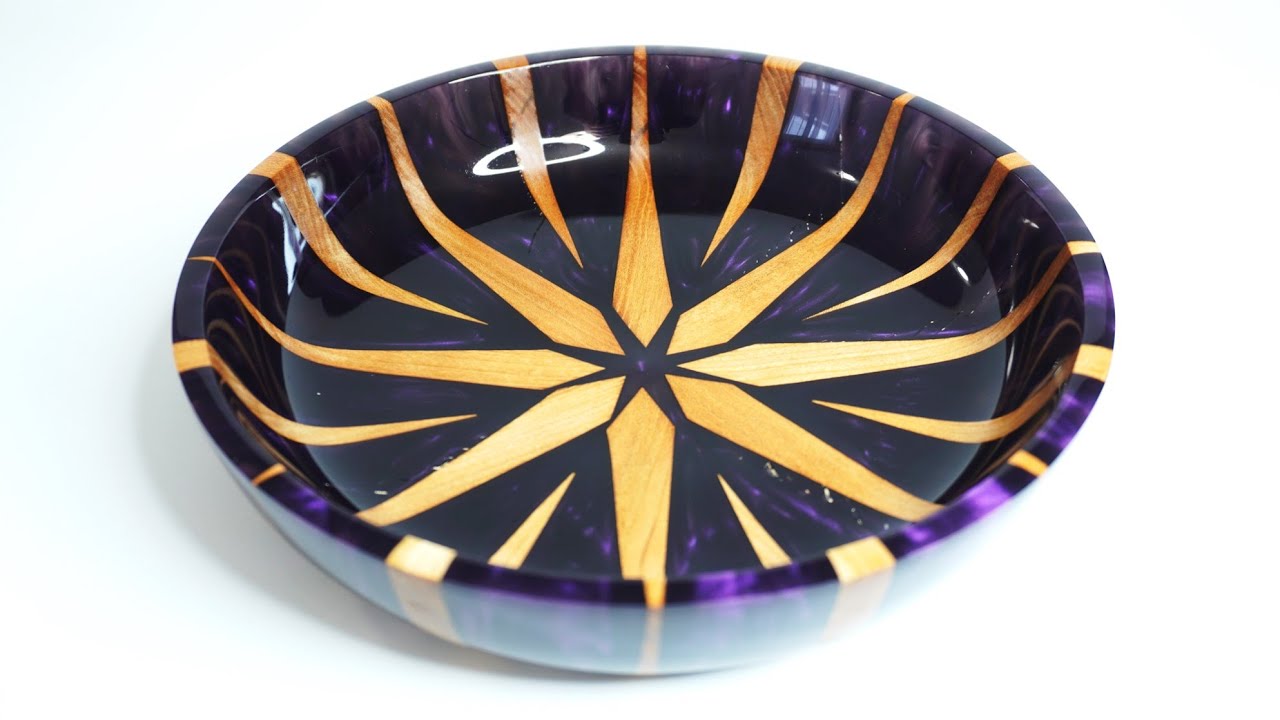
Woodturning the Cherry Sunburst Bowl – A Radiant Masterpiece! 🌞🍒
This stunning cherry wood bowl features a "sunburst" design, highlighting the wood’s natural warmth with dramatic radial grain patterns. Below is a step-by-step guide to crafting your own glowing, sun-like wooden vessel.
🛠️ Materials & Tools Needed
Wood: Cherry (known for its rich, reddish-brown tones that darken with age)
Lathe (with a sturdy chuck or faceplate)
Bowl Gouges (for shaping)
Scraper & Parting Tool (for refining)
Sandpaper (120 to 1000+ grit)
Food-Safe Finish (tung oil, beeswax, or walnut oil)
Optional: Wood dye/stain (for deeper contrast)
🌞 Step-by-Step Process
1. Selecting & Preparing the Cherry Blank
Choose a cherry log or slab with pronounced growth rings (for the "sunburst" effect).
Cut a round blank slightly larger than your desired bowl size.
Seal the end grain with anchorseal or wax to prevent cracking while drying (if green wood).
2. Mounting & Rough Turning
Secure the blank to the lathe using a faceplate or chuck.
Use a bowl gouge to shape the outside curve—aim for a smooth, flowing form.
Flatten the top (future bowl opening) and mark the center for alignment.
3. Hollowing the Bowl
Begin hollowing with a deep-fluted bowl gouge, working from center to rim.
Leave the base slightly thicker for stability.
For a "sunburst" effect, emphasize the natural growth rings by sanding carefully.
4. Enhancing the Sunburst Grain
Sand progressively (120 → 220 → 400 → 600+ grit).
Wet the wood lightly to raise the grain—cherry’s medullary rays will pop!
For extra drama, use a light wood stain on the rim to deepen contrast.
5. Applying the Finish
Use tung oil or Danish oil for a warm, food-safe glow.
Buff with carnauba wax for a silky-smooth feel.
(Optional) Buff on a polishing wheel for a glass-like shine.
🔥 Pro Tips for Maximum Radiance
✔ Cut along the growth rings – This maximizes the "sunburst" effect.
✔ Slow drying prevents cracks – Cherry is prone to warping; dry slowly.
✔ UV exposure deepens color – Leave the bowl in sunlight to darken naturally.
✔ Contrast with blackened accents – Try ebony inlay for a bold rim.
🎨 Creative Variations
Resin Sunburst – Fill cracks with gold or amber epoxy for a "molten" look.
Carved Rays – Use a V-gouge to engrave sunbeam lines.
Segmented Design – Alternate cherry with maple or walnut for a striped effect.
Final Thought
A cherry sunburst bowl is more than just a functional piece—it’s a living artwork that deepens in color and character over time. Perfect for fruit displays, centerpieces, or as a statement decor item!
Would you like recommendations on the best cherry wood suppliers or a video tutorial for the sunburst technique? 😊
.jpg)
.jpg)
.jpg)


