

Selecting the Burnt Wood
Look for wood that is charred on the outside but still has a solid interior.
Avoid pieces that are too brittle or cracked deeply.
Common sources: fire-damaged logs, salvaged timber, or even driftwood.
2. Preparing the Wood
Remove Loose Char: Use a wire brush, sandpaper, or a carving tool to clean off loose burnt material.
Stabilize the Wood: If the wood is fragile, consider stabilizing it with resin or wood hardener.
Cut to Size: Use a bandsaw or handsaw to shape the wood into a rough blank for turning.
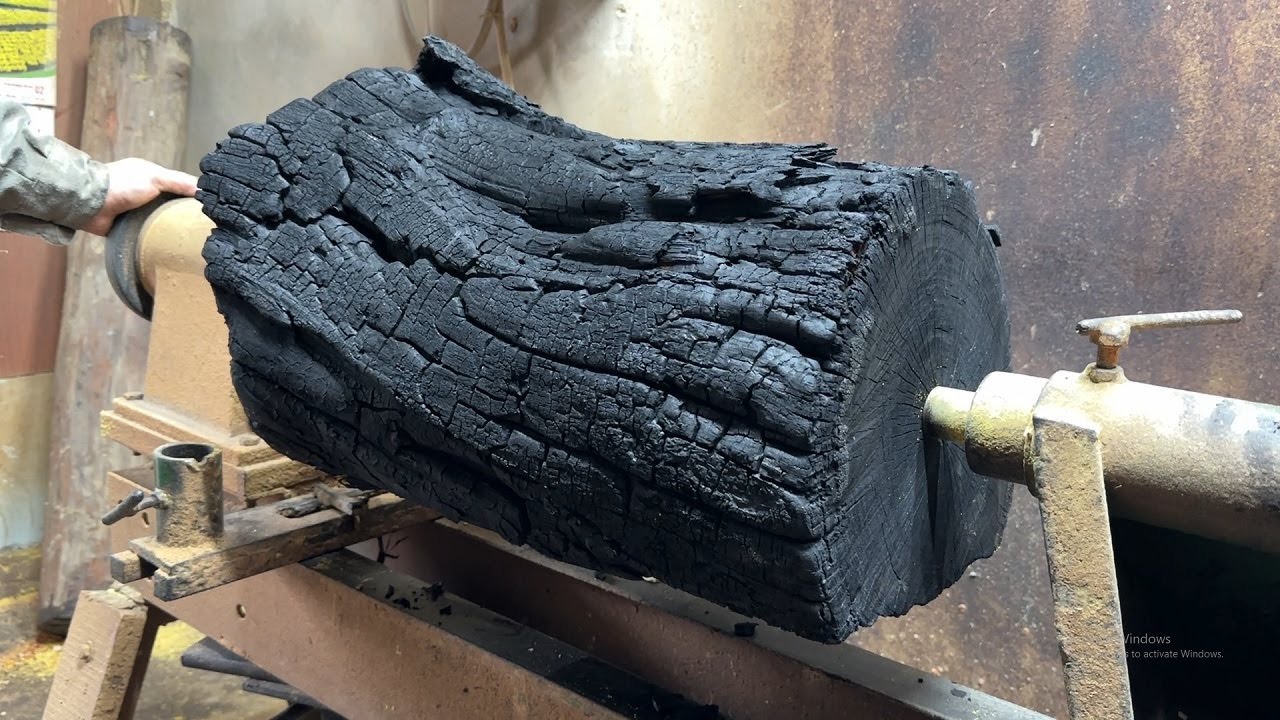
3. Mounting on the Lathe
Secure the blank between centers or with a faceplate/chuck, depending on the shape you want.
Ensure the piece is balanced to avoid excessive vibration.
4. Turning the Design
Initial Shaping: Use a roughing gouge to remove excess material and reveal the sound wood beneath the char.
Embrace the Burnt Features: Some artists leave intentional charred sections for contrast in the final piece.
Hollowing (if making bowls/vases): Use bowl gouges or scrapers to refine the interior.
Sanding: Progress through grits (80 to 600+) to smooth the surface while preserving desired textures.
5. Finishing Touches
Oil/Wax Finish: Enhances natural grain and contrasts between burnt and fresh wood.
Resin Inlay (optional): Fill cracks or voids with colored epoxy for a modern touch.
Charred Accents: Use a blowtorch sparingly to add controlled burning for artistic effect.
.jpg)
.jpg)
.jpg)


